
Having a HTTPS is relative important for every website nowadays. This is important because the information you send on the Internet is passed from computer to computer to get to the destination server. Any computer in between you and the server can see your credit card numbers, usernames and passwords, and other sensitive information if it is not encrypted with an SSL certificate.
Google Chrome has started to “force” all of the websites to have a valid HTTPS. More info – Chrome will mark all HTTP sites as ‘not secure’ starting in July
Luckily for most of us, you don’t need to purchase an expensive SSL, getting a SSL in your website is free today. Thanks to Let’s Encrypt, a free, automated, and open certificate authority brought to you by the non-profit Internet Security Research Group (ISRG).
Most hosting today support FREE SSL, if you are hosting with us, we will assure you your website will come with HTTPS without extra cost. But in case you are hosting in some other old obsolete companies that requires you to purchase SSL cert in order to enjoy the HTTPS, you try the below method to have FREE SSL cert.
1. Go to https://zerossl.com/free-ssl/#crt
2. Key in your domain name (for example: bravonet.my )& select the tick box for Accept ZeroSSL TOS & Let’s Encrypt SA (pdf)
![]()

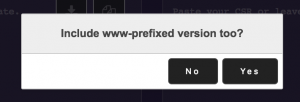
3. Click on the NEXT button at the top right. You will see a pop up box asking for “Include www-prefixed version too?”. Click Yes.
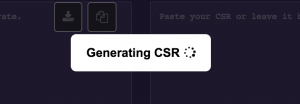
4. Please wait for awhile while the system is generating the CSR. What is Certificate Signing Request (CSR) – A CSR or Certificate Signing request is a block of encoded text that is given to a Certificate Authority when applying for an SSL Certificate. It is usually generated on the server where the certificate will be installed and contains information that will be included in the certificate such as the organization name, common name (domain name), locality, and country.
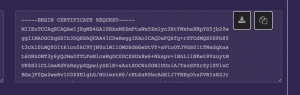
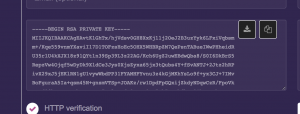
5. Once it’s done, you will see a bunch of encrypted text appear in the box. Click on the download button to store it.
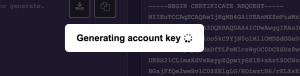
6. Click on the “NEXT” button again at the top right. To generate the Account Key. Once it’s done, you will able to see another bunch of the encrypted text at the left box. Click on the Download button to save the key. Click on the “NEXT” button again once you have download.
7. You will reach a verification page for the 2 domains (with www and without www). Download the 2 files.
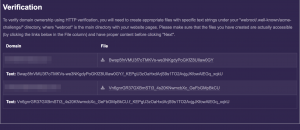
8. Login to your website FTP or any control panel you have to upload the files that you have downloaded. But before that you need to create folder 1st folder “.well-known” and “acme-challenge” inside “.well-known” folder. Upload the 2 files to “acme-challenge” folder.

![]()
9. Once the upload done, click on the link of the 2 files. You can either download them or view them in browser, if the is doesn’t return 404 error, congratulation, you are almost there. Once you have done, click on the “NEXT” button to proceed.
10. Your Certificate is ready! You are not done yet but almost,
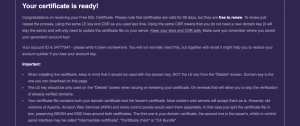
Copy and download certificate and key that provided in the box. (It’s an encrypted text). You will need these certificate and key to be added in your website control panel (In this tutorial we will show cPanel).
11. Login to your cPanel and look for SSL and click on “Manage SSL”
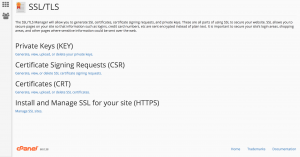
12. Select the domain that you had the SSL created for,
![]()
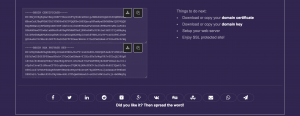
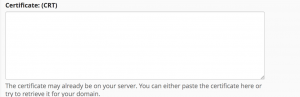
13. Copy and paste the certificate (the first box) that you have downloaded from zeroSSL site in the.
*Please take note that there are 2 parts in the certificate file, copy the and paste only the first part,
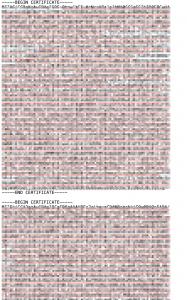
Paste the encrypted text to “Certificate: (CRT)” in your cPanel manage SSL. Do remember to include “—–BEGIN CERTIFICATE—–” and “—–END CERTIFICATE—–” along.
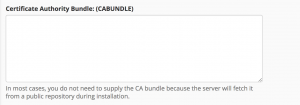
14. Paste the 2nd part of the key file in “Certificate Authority Bundle: (CABUNDLE)”.
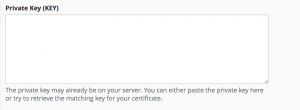
15. Lastly copy and paste the key file (the 2nd box) that you have download to “Private Key (KEY)” section in in your cPanel manage SSL.
16. Once you have done click on the “Install Certificate” button at the bottom of the page. Voila! Visit your website with HTTPS and you will be able to visit your website with SSL installed without getting any error message from the browser.
![]()
I hope you are able to get your FREE SSL up and ready. If you have any questions, feel free to contact us.
* Featured image credit to divitheme.net